Monday, April 10, 2017

A Trip to Savannah and A Few Handmade Birthday Gifts


Hello! It has been a few weeks since my last post. When  I have had the opportunity, I have spent a lot of time reorganizing my paper craft studio and making some wonderful discoveries along the way! There are enough supplies in there to last me a long time and provide the materials for some really fun-to-make projects! I plan to be back in the studio more often this spring and will put much of what I have to good use!

Today is an exceptionally warm day for early April in Western New York State. It is going to be 70 degrees and sunny! It will be a good time to start cleaning up all the debris in the yard and gardens. There is a lot to do before we can even begin to plant anything. The temperatures still dip down in the 30's at night.

My husband and I returned a week ago from a trip to Savannah, Georgia. While we were there, we also visited Parris Island, St. Simons Island and Jekyll Island. The weather could not have been any better. It was warm and there was a constant soft breeze. What a treat!

The historic homes we had the chance to view and visit were marvelous and the city and region's history is rich. If you have never been to Savannah, I urge you to go. The best months to visit are December through March. After that, the heat can be oppressive for northern tourists, like us!

We had the opportunity to tour Mistletoe Cottage on Jekyll Island.
The island was a private resort for a select few of the very rich from 1888 until 1942.
The island has an interesting history and we wish that the walls could talk.
There would surely be some intriguing stories.
We just ordered a book that our tour guide recommended,
Splendid Isolation, The Jekyll Island Millionaires'  Club, 1888-1942
Inside Mistletoe Cottage, this room is at the back of the building, adjacent to the dining room.
The ceiling is covered with imported hand-painted silk panels from China.
The large brass lamps resemble Chinese Lanterns.
The residents of the island built a chapel and inside is this Tiffany window.
It was made by and signed by Louis Comfort Tiffany.


Upon our return home, we were greeted by crocuses in bloom.
A sure sign of spring!
And a few days later . . . winter was trying to hold on.
After torrential rains and flooding, it snowed heavy wet snow.
We usually do not have a lake in the back yard, but the banks of the Tonawanda Creek were overflowing.
We had a birthday in the family, so I made a few things to put in the mail. Whenever I sit down to make something in my studio, I end up adding to my original idea! :-)

A collage of sorts on the front of the card.
I rounded the corners and inked all around the edges of the papers that I used.
I added a few dots and the metal embellishment.

I don't know about  you . . . but I love using fancy paperclips!
I altered these with ribbons in spring colors.
The recipient said she really liked them and said she always needs paperclips!


I made this little envelope to hold a special little gift.


The back of the clipboard that I altered.


It is hard to make something and not include some charms!


The front of the altered clipboard.
The little pocket held the small envelope perfectly!
I added a metal piece at the top, but forgot to take a photo before I mailed it.
It said "Enjoy the Journey".
The spring market for real estate is about to get very busy and we are rolling out a new listing today, so I will close here. It is a nice benefit to have a home office to work from, and with so much telecommuting technology available in our profession, we can start early at home before we hit the pavement.

Thank you for taking the time to read my post. As always, your comments and questions are welcome. I hope you and those you love are well and happy.

And . . . until we meet again, may the Lord hold you in the hollow of His hand.

Emmy


Thursday, March 30, 2017

Altered Composition Book / Wedding Planner Version 2

As promised . . . in my last blog post . . . I wrote I would post the second planner I made for the bride to be. Here are a series of photos from cover to cover, along with tags, photo mats and pockets that can be used to keep things in order and make notes along the way. The reverse sides of the photo mats and tags can be used for journaling or photos to document memories she will make as she plans her wedding.


The cover.
The diecut heart is open at the top, so a photo can be inserted.

There's a pocket inside the front cover.
It has five photo mats in the pocket.
On the opposite page, there's a pocket made from ribbon.
It holds three photo mats and has a metal keyhole embellishment.

Three photo mats from the pocket along with two additional ones made especially for the bride to be and her fiance.
😉

Three photo mats in the ribbon pocket.

Pocket page with ribbon trim.

Three photo mats.

Another pocket page made with wide polka dot ribbon.

Three photo mats.

Pocket page with little wooden glasses that I stained with alcohol ink. Adhered with Glossy Accents and space to tuck a small tag.

Two photo mats and a tag for journaling.

Ribbon-trimmed pocket page.

Three photo mats.

Pocket page with second small pocket to hold a small photo mat.

Three photo mats.

Pocket page with an open-sided pocket to tuck a photo.

Four photo mats.

Pocket page on the left has a small open-ended pocket for a tag.
On the right is a pocket page with another little pocket for a tag..

Three photo mats and a tag.

Four photo mats and a tag.

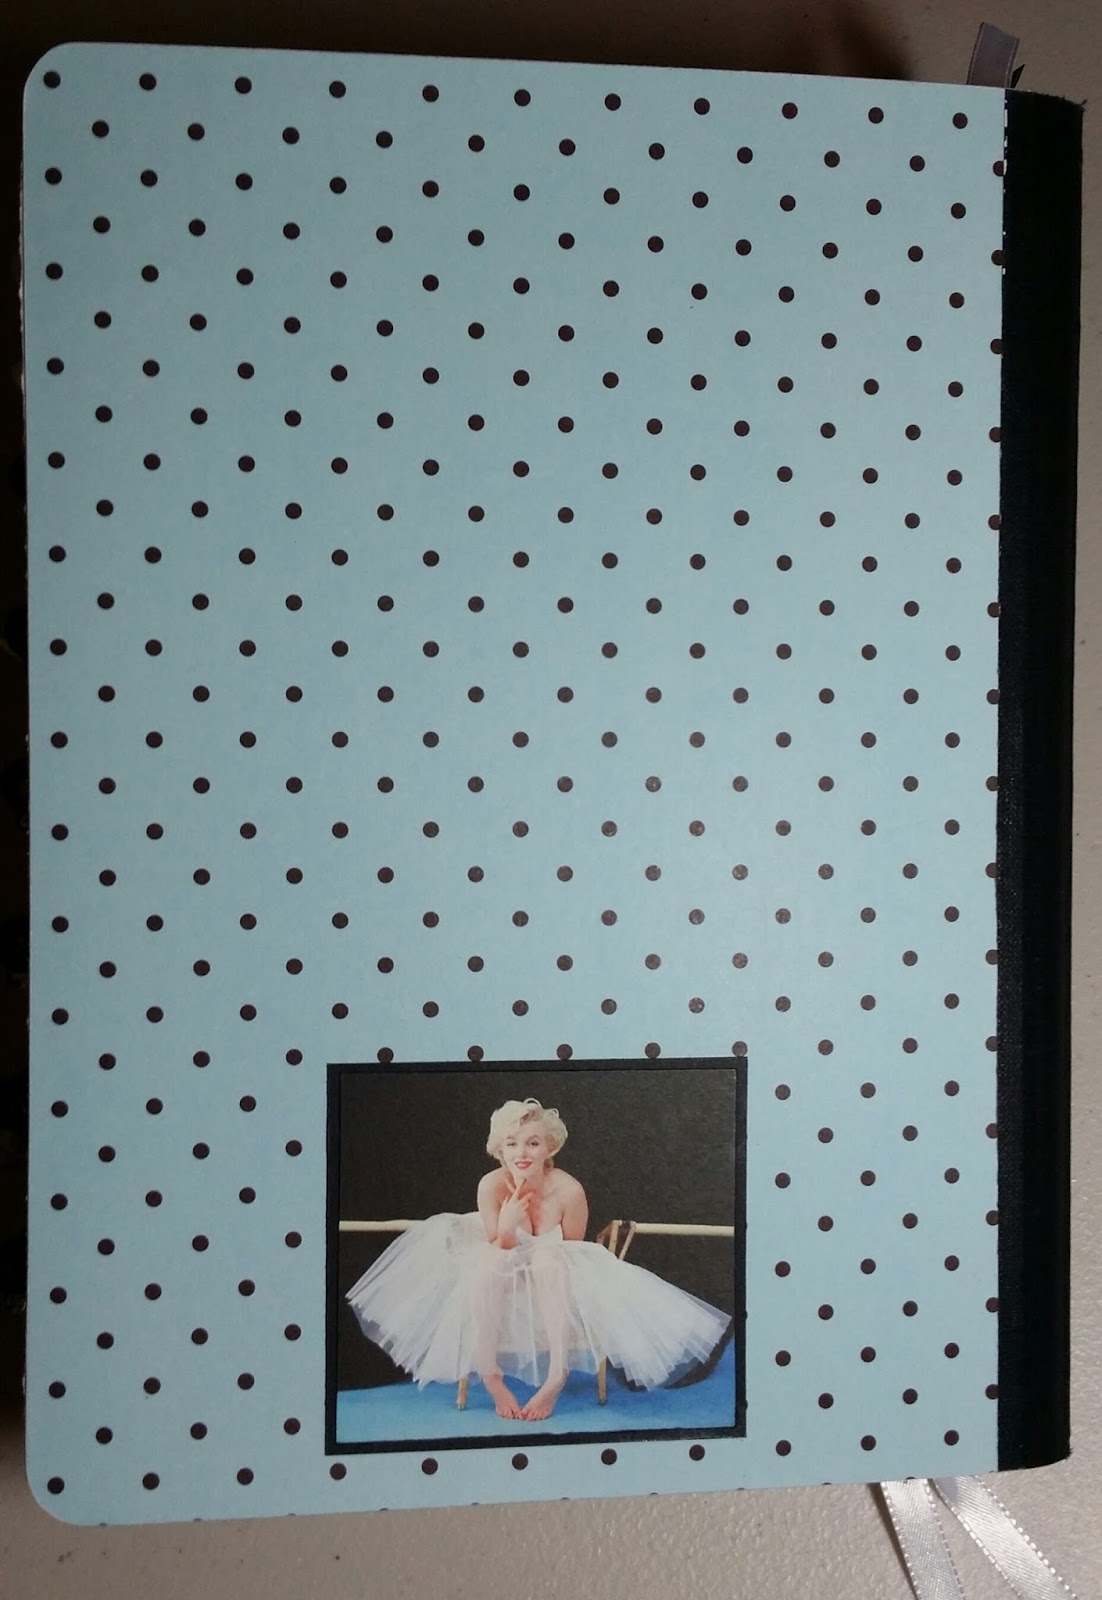
The back cover.

Side view with ribbon tie.
A photo mat is tucked in behind the die cut heart.

The little divider clips I made for her with her first planner / journal can be used interchangably with this planner. You can see them if you refer back to my previous post.

Thanks for stopping by. As always, your comments and questions are welcome.

Until we meet again, may the Lord hold you in the hollow of His hand.

Emmy


Wednesday, March 8, 2017

Wedding Planner: Altered Composition Book & Altered Clipboard


It is March and the month is living up to its name. We have had terrific wind storms all winter and today, even though it is a beautiful blue sky day, we are expecting high winds with gusts up to 70 miles per hour. The last time we had this kind of windstorm, my husband and I stayed up all night to monitor the situation. High winds at night are even scarier than during the day. This warning will expire at 10 P.M. I hope it ends much earlier!

I have been continuing the clean, sort and purge method in my sewing room and other rooms throughout the house. I thought I would be finished with the fabric sorting by now. But, I can see the light at the end of the tunnel. Bags of items to donate are ready to deliver to local charities and with the coming of spring, I really need to complete this task so I will be ready to work outside when the warm weather is here to stay. This is the year that I will plant my much-anticipated romantic perennial garden. :-)

In between cleaning, sorting and purging, I have managed to make a few things in my studio. I was asked by a friend if I could make a planner and clipboard for her daughter who will be planning her wedding. The bride-to-be doesn't like fussy things, so I knew a frilly mini album would not be what she would use. So, I decided that a planner that would be useful to her would be something she could make her own and not have definite pages for this and that. I settled on altering a a composition book. Yes, the kind we used in school. They are still available!

I learned the bride-to-be is fond of Audrey Hepburn, Jackie O., and Marilyn Monroe, especially black and white images. She likes clean modern lines, but also likes a bit of retro and rustic. The movie Breakfast at Tiffany's was mentioned, and her love of Tiffany blue, with a little shabbiness thrown in for good measure. What I came up with is pictured below.

The project.
Packed up and ready to deliver.


I tucked a tag beneath the tulle.


To: and  From:


The front of the altered composition book
I made a couple bookmarks using ribbon and word beads.
On the right are clips the bride-to-be can use to randomly divide pages in the book..

The back cover.
This image was too cute.
I had to use it!

Divider tags are printed on cardstock and circle punched.
I used a jump ring and iridescent beads to attach them to clips.

The reverse of each divider tag has a different, but related title.
There seems to be a really BIG space between some of the uploaded photos.
I don't know why and as much as I have tried, I can't correct it.
My apologies.
Please keep scrolling down!
;-)


Inside front cover.
I made a pocket with ribbon trim.

I have had two little booklets on hand for so long that I don't recall where I picked them up.
I wish I knew because I want more.
I used one here with Audrey peeking out over the top of the pocket.

Surprise!
This image just had to be used in the project!

And . . . who else would be on the back?

Inside the back cover.
I used the same ribbon to make a band that can hold things.

I slipped the second little booklet beneath the band.

Marilyn.
:-)


The girl next door image of Marilyn.

Full size clipboard.
Altered with designer paper and matted images.
I used alcohol ink and acrylic paints on the metal to give it a softer look.

Charms attached to a removable clip.

The back of the altered clipboard.


For reference, I included a 2017 calendar.


I altered some mini clothespins the bride-to-be can use to harness some of her planning papers.


These are always useful and are fun to make!

The matched set.

 . . . But wait . . . there is more . . . in my next blog post! I decided I wasn't quite finished with giving the bride-to-be what she needed for keeping things in order, so I made an additional altered composition book / planner for her. I will try to get the next post written soon. :-)


In the meanwhile, I hope you and those you love are healthy and happy and that life is treating you well. And until we meet again, may the Lord hold you in the hollow of His hand.


Emmy